
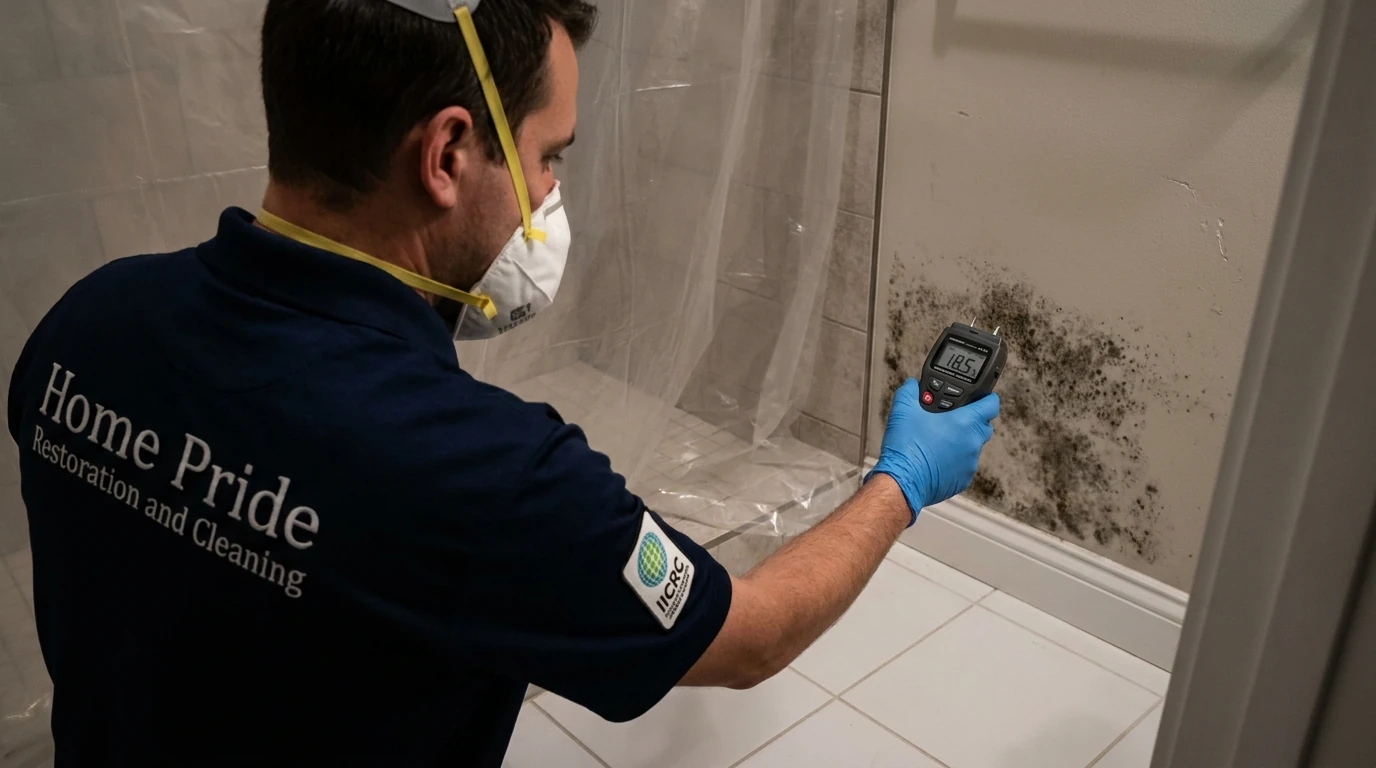
TL;DR: Nothing kills mold permanently unless you also eliminate the moisture source feeding it. For small, non-porous surfaces (under 10 square feet), detergent and water plus thorough drying can clear mold for good. Bleach looks like it works but does not penetrate porous materials like drywall or wood, so the mold comes back. For anything larger than a small bathroom tile patch, porous building materials, or suspected HVAC contamination, professional remediation is the right call.
You scrubbed the mold off your bathroom wall, sprayed it with bleach, and it was back within a few weeks. That is not bad luck. That is how mold works. The visible growth is only part of the problem. Mold sends hyphae (root-like threads) into porous materials, and a surface spray cannot reach them. If you also have not fixed whatever is keeping that surface damp, you have not solved anything. Here is what actually works, and where the line is between a safe DIY job and one that needs a certified remediation crew.
Does Bleach Kill Mold Permanently?
Bleach does not kill mold permanently on porous surfaces like drywall, wood, grout, or ceiling tiles. On non-porous surfaces such as glass, sealed tile, or chrome fixtures, bleach can be effective. The problem is that bleach is mostly water, and the water component soaks into porous materials while the active chlorine evaporates at the surface. The mold roots survive below, and the added moisture can actually encourage regrowth.
For non-porous surfaces, a diluted bleach solution (1 cup bleach per gallon of water) will kill surface mold. But it is only one step. You still need to scrub away the dead mold, dry the area completely, and fix the moisture source. Skip any of those three and the mold returns.
The EPA’s guidance on mold cleanup does not recommend bleach as a primary mold treatment. Their guidance for small areas focuses on scrubbing with detergent and water, then drying thoroughly.
What Actually Kills Mold on Different Surfaces?
The right approach depends on what you are cleaning. For non-porous surfaces (sealed tile, glass, metal, plastic), scrubbing with detergent and water removes the mold physically, and a diluted bleach rinse can disinfect the surface afterward. Dry completely.
For porous surfaces (drywall, wood framing, ceiling tiles, fabric), surface cleaning is not enough. Mold hyphae penetrate the material itself. The EPA’s threshold is 10 square feet: patches smaller than roughly a 3-by-3-foot area on a non-porous surface can be handled by a careful homeowner. Anything larger, or any growth on porous building materials, generally requires professional remediation that includes physical removal of the contaminated material.
Here is a quick breakdown by surface type:
- Sealed tile and grout (non-porous): Detergent scrub, rinse with diluted bleach, dry completely. Fix the ventilation so the surface stays dry.
- Unsealed grout (semi-porous): Scrub with detergent. If mold is embedded, the grout may need to be regrouted after cleaning. Bleach alone will not clear embedded growth.
- Drywall (porous): If mold has penetrated the paper facing, the affected section needs to be cut out and replaced. Painting over it or spraying it will not work.
- Wood framing or subfloor (porous): Surface sanding and treatment with an encapsulant can work for light surface mold on solid wood. Heavily contaminated or structurally compromised wood needs removal.
- HVAC ducts and air handlers: Do not attempt DIY. Mold in your duct system distributes spores through every room every time the system runs. This requires professional duct cleaning and remediation.
If you are not sure whether what you are seeing is surface mold or something deeper, our post on signs of hidden mold covers the warning signs that growth has gone further than the surface.
Why Does Mold Keep Coming Back?
Mold returns because the moisture source was never fixed. Mold needs three things: a food source (any organic material, including the paper facing on drywall), the right temperature, and moisture. You cannot control the first two inside a home. Moisture is the only variable you can actually eliminate.
Common moisture sources that homeowners miss:
- Slow plumbing leaks behind walls or under sinks. A drip that seems minor can keep a wall cavity at the humidity level mold needs.
- Condensation from poor insulation. Cold pipes in warm spaces, or poorly insulated exterior walls in Utah’s climate swings, create condensation that never fully dries.
- Inadequate bathroom and kitchen ventilation. If your exhaust fan does not actually vent to the exterior (some vent into the attic), steam has nowhere to go.
- Crawl space moisture. An unencapsulated crawl space in a home with a dirt floor can push significant moisture into the living space above. Crawl space encapsulation is one of the most effective long-term mold prevention steps for homes with this setup.
- Roof leaks. A slow roof leak that only shows up as a ceiling stain after heavy rain can keep attic sheathing or ceiling framing damp for weeks between events. Our post on signs of hidden mold covers how to spot this pattern.
Fix the moisture source first. Then clean. If you clean first and fix the leak later, you are doing the work twice.
How to Do a Safe DIY Mold Cleanup
For small patches (under 10 square feet) on non-porous surfaces, you can handle this yourself if you take the right precautions.
Step 1: Protect yourself. At minimum, wear an N95 respirator (not a paper dust mask), nitrile gloves, and safety glasses. Mold spores become airborne when disturbed. If you have respiratory sensitivities or the area is larger than a couple of square feet, add a disposable Tyvek coverall.
Step 2: Contain the area. Close doors to adjacent rooms. If possible, use a box fan in a window to create negative pressure (air blowing out, not in). This keeps spores from spreading to clean areas.
Step 3: Scrub with detergent and water. A stiff brush and dish soap work. The goal is physical removal, not just chemical treatment. Scrub until no visible growth remains.
Step 4: Rinse and dry completely. For non-porous surfaces, a diluted bleach rinse can follow the scrub. Then dry the surface completely. Use a fan if needed. The surface must reach normal indoor humidity levels before you consider the job done.
Step 5: Fix the moisture source. This is not optional. Identify what kept that surface damp and correct it before you close anything up.
Step 6: Dispose of materials properly. Anything used to scrub mold (rags, sponges, disposable brushes) goes into a sealed plastic bag before leaving the work area. The same goes for any porous material you removed.
When Should You Call a Professional Instead?
Call a certified mold remediation company when the job is beyond what surface cleaning can fix. Specifically:
- The affected area is larger than 10 square feet. The EPA uses this threshold as the point where professional remediation is generally recommended.
- Mold is on porous building materials (drywall, wood framing, insulation, ceiling tiles). These materials need to be removed, not cleaned.
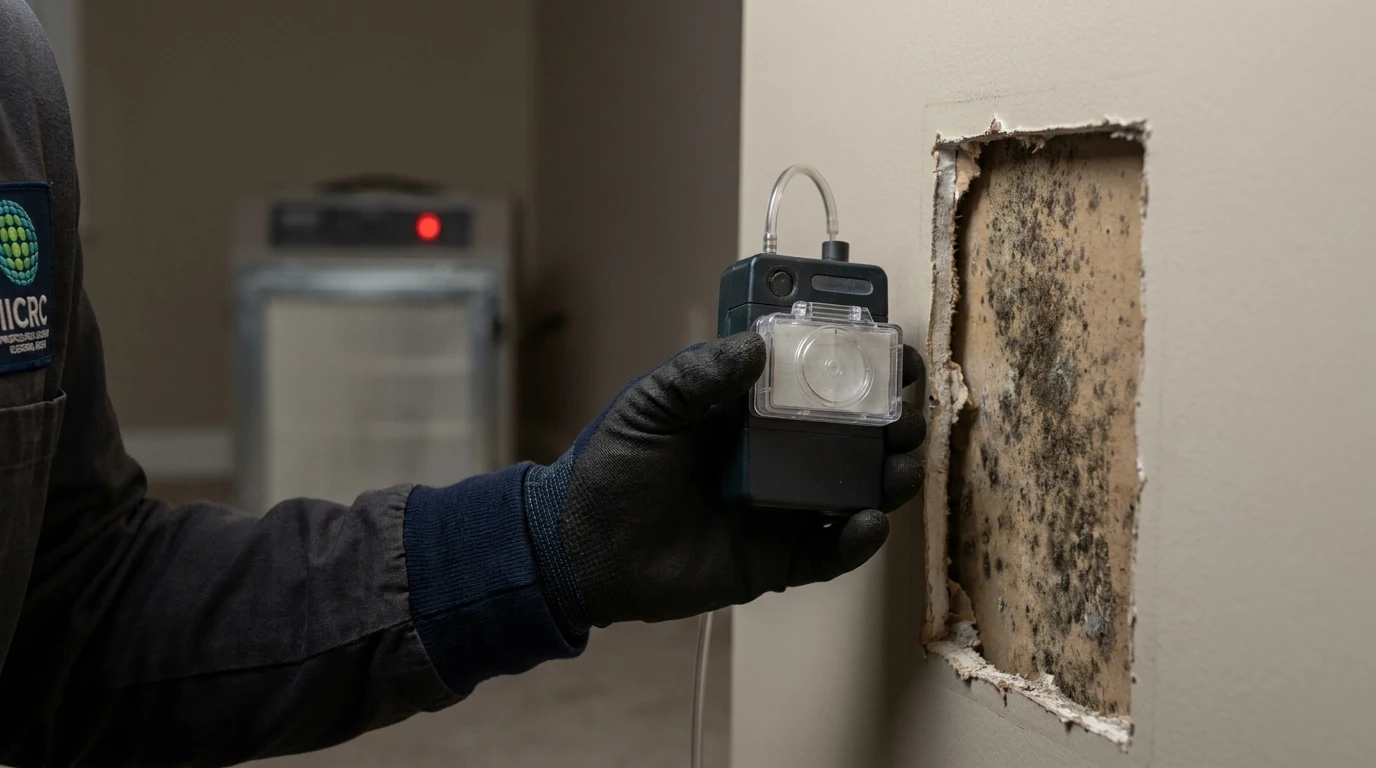
- You suspect mold is inside walls or under flooring. A musty smell without visible growth, or a water-stained wall that was never properly dried, often means hidden contamination. A mold inspection and testing appointment can confirm what is there before you open walls unnecessarily.
- The HVAC system is involved. Mold in ductwork or air handlers requires specialized equipment and containment.
- Anyone in the home has respiratory conditions, allergies, or a compromised immune system. The spore counts during cleanup are significantly higher than baseline, even with precautions.
- The mold followed a water damage event that was not dried within 24 to 48 hours. Water damage that sat creates Category 2 or Category 3 contamination conditions that go beyond surface mold. If you are not sure what you are dealing with, our post on black mold vs regular mold explains the difference and when each type raises the stakes.
Professional remediation follows the IICRC S520 Standard for Professional Mold Remediation. That means full containment with poly sheeting and negative air pressure, HEPA vacuuming, physical removal of contaminated porous materials, air scrubbing, and post-remediation verification testing to confirm the job is complete. It is a different scope than scrubbing a tile.
If you have already tried cleaning and the mold came back, or if you are seeing growth in multiple areas, that pattern usually means there is a moisture problem the surface cleaning never addressed. A professional assessment can find the source and give you a written scope of what remediation actually involves before any work begins.
Home Pride Restoration and Cleaning handles mold remediation and mold inspection and testing across the Saratoga Springs area and throughout Utah County. If you are seeing growth that keeps returning or want to know what is behind a water-stained wall, request a mold inspection to get a clear picture before committing to a scope of work.
About Home Pride Restoration and Cleaning
Home Pride Restoration and Cleaning is an IICRC-certified company serving Saratoga Springs and the surrounding Utah County communities since 1997 (license RC-25-0737). Their crews handle mold remediation, mold inspection and testing, water damage restoration, fire and smoke damage restoration, crawl space encapsulation, and a full range of cleaning services including carpet, upholstery, tile and grout, and odor removal. Available around the clock at (801) 995-2437.