
TL;DR: Ice dams form when heat leaking from your attic melts snow on your roof, and that water refreezes at the cold eaves. The fix is keeping your roof surface uniformly cold: seal attic air leaks, add insulation to R-49 or better, and ensure soffit-to-ridge ventilation. Roof rakes and heat cables help in the short term, but attic work is the only lasting solution for homes in Heber Valley’s cold, snowy winters.
If you’re staring at a thick ridge of ice along your eaves after the latest storm rolled through Heber City, you already know ice dams aren’t just an eyesore. They force meltwater under shingles, into your attic, and down interior walls. By the time you see a water stain on the ceiling near Midway Road or a drip in your mudroom, the damage is already done. This guide walks you through exactly what causes ice dams and the specific steps that actually prevent them, starting with the most effective and working down to the stopgap measures.
What Causes Ice Dams in the First Place?
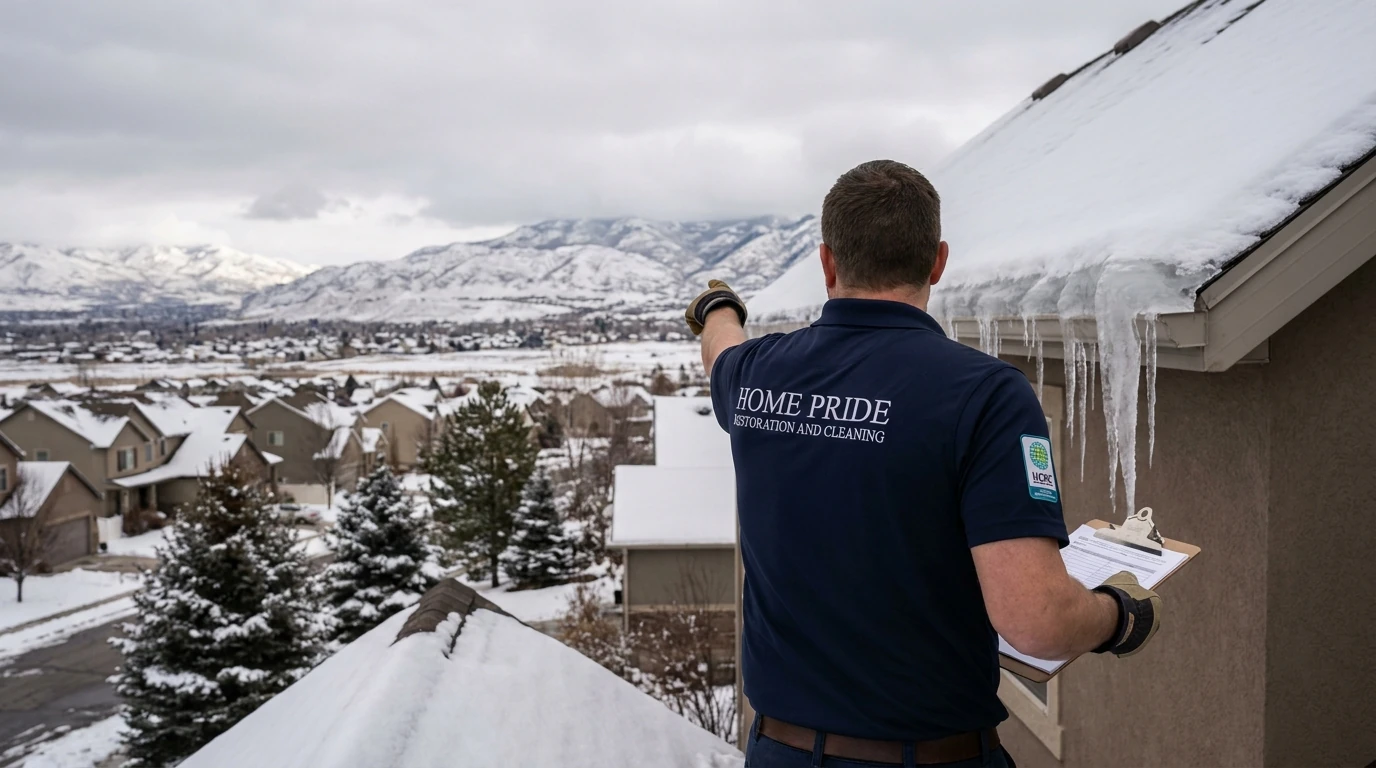
Ice dams form because the upper portion of your roof is warmer than the eaves. Heat escaping from your living space warms the roof deck above the insulated area, melting snow. That meltwater runs down toward the eaves, which sit over the unheated overhang and are much colder. It refreezes there, building up a ridge of ice. As the dam grows, pooled water backs up under shingles and into the structure.
Heber City’s elevation (around 5,600 feet) and its position in Heber Valley make this worse than in lower-elevation Utah communities. The valley traps cold air, overnight lows regularly drop into the single digits, and the Wasatch Range dumps heavy, wet snow that sits on roofs for days. A house that handles Salt Lake winters fine can develop serious ice dams in Heber City because the temperature differential between the heated attic and the frozen eaves is simply larger here.
The root cause is almost always a combination of three things: air leaks from the living space into the attic, insufficient attic insulation, and poor attic ventilation. Fix all three and ice dams become rare. Ignore them and no amount of roof raking will keep up.
How Do You Fix the Attic to Prevent Ice Dams?
Sealing attic air leaks and adding insulation is the single most effective way to prevent ice dams. It works by keeping the heat inside your living space instead of letting it warm your roof deck.
Start with air sealing. Warm air rises and finds every gap it can: around recessed light cans, plumbing penetrations, attic hatches, and where interior walls meet the top plate. Foam and caulk these before adding insulation. An unsealed recessed light can dump more heat into an attic than a square foot of missing insulation. Use fire-rated caulk around electrical boxes and closed-cell spray foam for larger gaps.
Once sealed, check your insulation depth. Utah’s climate zone (Zone 5-6 depending on elevation) calls for attic insulation at R-49 to R-60. Most older Heber City homes were built with R-19 to R-30. Blown-in cellulose or fiberglass is the easiest retrofit: a contractor can bring the depth to code in a single day. Pay special attention to the eave baffles. Insulation should extend all the way to the eave without blocking the soffit vents. Cardboard or foam baffles hold it back just enough to keep the ventilation channel open.
Ventilation is the third piece. A properly ventilated attic draws cold outside air in through soffit vents and exhausts it through a ridge vent, keeping the entire roof deck close to outdoor temperature. The standard is 1 square foot of net free vent area per 150 square feet of attic floor. If your home has only gable vents and no ridge vent, you’re working at a disadvantage. A roofing contractor can add a continuous ridge vent without a full reroof.
What Short-Term Tools Actually Help?
Attic work takes time and budget. For the winter you’re in right now, two tools give you meaningful protection: a roof rake and self-regulating heat cable.
A roof rake lets you pull snow off the lower 3 to 4 feet of your roof from the ground. You don’t need to clear the whole roof. Ice dams form at the eaves, so removing the snow from that zone breaks the cycle before water pools. Use an aluminum rake with a telescoping handle and work carefully to avoid damaging shingles. After a heavy snowfall at Soldier Hollow or anywhere in the valley, getting out early with the rake before the snow compacts is much easier than dealing with icy, heavy accumulation.
Self-regulating heat cable (sometimes called heat tape) runs along the eave and through downspouts. It draws more power when temperatures drop and less when they rise, keeping a channel open for meltwater to drain. The key word is self-regulating. Constant-wattage cables waste energy and can overheat. Install the cable in a zigzag pattern along the eave so it creates drainage channels rather than just a single warm line. Run it through each downspout to the ground so water exits completely rather than refreezing inside the leader.
Heat cable is not a substitute for attic work. It uses electricity all winter and only manages the symptom. Think of it as a bridge while you plan the real fix.
What Are the Warning Signs That Ice Dams Are Already Causing Damage?
Ice dams cause damage before most homeowners notice anything inside the house. Catching the signs early limits how much repair work follows.
Outside, look for icicles that are unusually large or that extend inward over the roof rather than hanging straight down. A visible ridge of ice along the eave line, especially one that’s thick enough to hold standing water above it, is a dam in progress. Check the soffits for water staining or paint peeling. Soffit damage often shows up before interior ceiling stains do.
Inside, water stains near exterior walls, especially at the top of the wall near the ceiling, are a strong indicator. Bubbling or peeling paint on exterior-facing walls, damp insulation in the attic near the eaves, or frost on the underside of the roof deck in the attic are all signs that water is getting in. If you find any of these, the damage assessment should happen before you focus on prevention. Wet insulation loses most of its R-value and can grow mold within 24 to 48 hours if it stays damp.
If water has already entered your structure, drying it correctly matters as much as stopping the source. Mold can establish in attic framing and insulation quickly in Heber City’s cold, humid winter conditions. A professional moisture assessment with a calibrated pin-type meter and thermal imaging can find wet areas that aren’t visible to the eye.
What Should You Do Before Next Winter?
The best time to address ice dams is before the snow falls. A pre-winter attic audit in September or October gives you time to schedule insulation work, install ventilation improvements, and have heat cable ready before the first major storm.
Walk your attic in late summer. Bring a flashlight and a tape measure. Check insulation depth at the center and at the eaves. Look for daylight coming through any penetrations. Note where ductwork or exhaust fans vent into the attic rather than through the roof (a common code violation in older homes that dumps warm, moist air directly into the attic). Check that every soffit vent is clear of insulation and that the ridge vent is unobstructed.
If you find damage from a previous winter, get it documented and dried before adding new insulation on top of wet material. A roof leak repair assessment can confirm whether sheathing or framing has been compromised. For homes that took on water during a storm event, storm damage restoration services can handle structural drying and mold prevention before the next season.
For Heber City homeowners who want a professional eye on the problem, a moisture assessment and attic inspection is a practical starting point. Catching a wet rafter now costs far less than replacing water-damaged ceilings and insulation after another winter.
About Home Pride Restoration and Cleaning
Home Pride Restoration and Cleaning is an IICRC-certified restoration company serving Heber City, UT and surrounding communities including Park City, Saratoga Springs, and the broader Wasatch Front since 1997 (license RC-25-0737). Their crews handle water damage, storm damage, roof leak response, mold remediation, and structural drying across the region. Reach them at (801) 995-2437, available 24/7.